Posts

Showing posts from July, 2020

macOS 11 Big Sur system requirements

Image
As Apple is rolling out the new major macOS update, Mac owners are getting excited — for a good reason. macOS 11 Big Sur is bringing along major app enhancements and the biggest design change in almost 20 years. You don’t want to miss this. So let’s make sure your Mac complies with all known requirements for Big Sur macOS 11.   Big Sur system requirements: Will your Mac run macOS 11?  The official Big Sur release date hasn’t been announced yet — but it will certainly happen this fall (we have our fingers crossed for September). The developer beta is already there, and the public beta is coming up in July. Whether you’re willing to test the beta or wait for the macOS Big Sur official release, you have to make sure your Mac can take it.  Here’s the list of macOS Big Sur compatible devices:  MacBook (2015 or later) MacBook Air (2013 or later) MacBook Pro (2013 or later) Mac Pro (2013 or later) Mac Mini (2014 or later) iMac (2014 or later) iMac Pro (2017 or later) S...
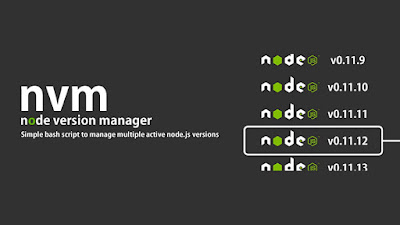
Running Multiple Versions of Node.js with Node Version Manager

Image
If you work on multiple Node.js projects, you’ve probably run into this one time or another. You have the latest and greatest version of Node.js installed, and the project you’re about to work on requires an older version. In those situations, the  Node Version Manager  (nvm) has your back, allowing you to install multiple versions of Node.js and switch between them as you see fit. Getting started To get started, you will need to install the Node Version Manager, or  nvm  on your system. It is included by many package managers, or you can install it manually by running one of the following: # If you have `curl` installed: $ curl -o- https://raw.githubusercontent.com/nvm-sh/nvm/v0.34.0/install.sh | bash # Or if you prefer `wget`: $ wget -qO- https://raw.githubusercontent.com/nvm-sh/nvm/v0.34.0/install.sh | bash Copy Once installed, you will also need to add a couple of lines to your shell’s startup file ( .bashrc ,  .bash_profile ,  .zshrc , et cetera):...

How to disable and enable the Crash Reporter on MacOS

The Crash Reporter can consume quite some system resources if one process is out of bounds. Here is how you can disable it. sudo launchctl unload -w /System/Library/LaunchDaemons/com.apple.ReportCrash.Root.plist To show the Crash Reporter again by entering the following at the command line: sudo launchctl load -w /System/Library/LaunchDaemons/com.apple.ReportCrash.Root.plist